
The first swing of a pry bar is usually the easy part. What catches homeowners off guard is everything behind the cabinets, under the flooring, and inside the walls. A good kitchen demolition safety guide helps you plan for those hidden risks before a simple remodel turns into damaged plumbing, electrical hazards, or an injury that slows the whole project down.
Kitchen demo looks straightforward because the room is familiar. But kitchens pack a lot into a small footprint – water lines, drain pipes, electrical circuits, gas connections, heavy countertops, sharp fasteners, and years of dust and debris tucked into tight spaces. If you are removing cabinets, tearing out tile, pulling up flooring, or opening walls, safety needs to come before speed.
Why kitchen demolition safety matters more than people expect
Most injuries during interior demo do not come from dramatic accidents. They come from rushed lifting, slipping on debris, cutting a hand on broken material, or shutting off the wrong utility too late. Kitchens also create a chain reaction problem. One wrong move can crack a pipe, damage a wire, gouge adjacent flooring, or send dust through the rest of the house.
That matters even more in occupied homes, rentals, and multi-unit properties where people still need safe access through nearby rooms. For landlords, property managers, and homeowners on a timeline, an accident during demo does not just create a safety issue. It can add cleanup costs, delay the renovation schedule, and increase disposal headaches.
Start with utility shutoffs, not tools
Before any demolition starts, confirm what is active in the kitchen and shut it off correctly. That usually means electricity to kitchen circuits, water supply to sinks, dishwashers, and refrigerators, and gas service if the kitchen has a range or gas line. If you are not fully confident identifying and isolating these connections, that is the point where professional help makes sense.
Never assume a switch or valve handled the whole room. Kitchens are often tied into multiple circuits, and older homes can have confusing labeling at the panel. Test outlets, lighting, appliances, and shutoff points before removal begins. If a dishwasher, disposal, microwave, or range hood is hardwired, treat it differently than a plug-in unit.
Gas deserves extra caution. If there is any smell of gas, stop immediately and do not continue pulling appliances or opening walls. A kitchen demo project is not the place for guesswork.
PPE is not optional in a kitchen demolition safety guide
The right protective gear is simple, but it makes a real difference. Safety glasses protect against tile shards, wood splinters, and metal fragments. Gloves help with sharp cabinet edges, broken laminate, nails, and screws. A dust mask or respirator is especially useful when removing old drywall, flooring adhesive, or tile backer. Hearing protection is smart if power tools are involved.
Footwear matters too. Sneakers are common on DIY projects, but they do very little against dropped tile, exposed fasteners, or slick dust on hard flooring. Sturdy closed-toe boots with grip are the better choice.
Clothing should be fitted enough that it will not snag, but durable enough to handle abrasion. Demo is messy, and kitchens often force you into awkward lifting angles. The less exposed skin you have, the better.
Protect the parts of the home you are keeping
A careful demolition job is not just about tearing things out. It is also about not damaging what stays. If the kitchen opens into hardwood, living areas, hallways, or stair access, those surfaces need protection before debris starts moving through the space.
Use floor protection in traffic areas and create a clear haul path from the kitchen to the exit. Remove tripping hazards early. If possible, isolate the work area to help control dust. This is especially helpful in homes with children, pets, tenants, or ongoing business activity in adjacent spaces.
Dust control depends on the scope of the project. Removing a few cabinets is one thing. Tearing out plaster, backsplash tile, or subfloor is another. Fine dust spreads fast and settles everywhere. It is easier to contain it up front than to clean the whole house later.
Demolish in the right order
One reason demo gets risky is that people remove large or load-bearing-feeling components without lightening the area first. The safer approach is controlled, staged removal.
Start by emptying the kitchen completely. Remove dishes, pantry items, loose shelving, and anything breakable. After that, take out appliances if utilities are properly disconnected. Doors, drawers, and detachable hardware should come off cabinets before full cabinet removal. Countertops often need more than one person because the weight is not always obvious until the fasteners are released.
Backsplash and tile should be handled with extra care because broken pieces travel fast and create sharp debris immediately. Flooring removal can expose uneven surfaces, nails, staples, and adhesive. Each layer you remove changes footing, which is why cleanup should happen throughout the job rather than at the end.
If walls are involved, pause and verify whether they are purely cosmetic partitions or part of the structure. A non-structural assumption can get expensive quickly.
Common kitchen demolition hazards to watch for
A practical kitchen demolition safety guide should account for the problems people run into most often. Water damage is a big one. Once cabinets and flooring come out, hidden leaks and rot may show up around sinks, dishwashers, and refrigerator lines. Soft subfloor can give way under weight, which changes how you move through the room.
Mold is another issue, especially in older kitchens with long-term moisture exposure. Even if the visible area seems minor, disturbing it can spread particles into the air. If the damage looks extensive, it is wise to stop and reassess.
There is also the age of the home to consider. Older materials may contain hazards that should not be disturbed casually. If you suspect any regulated material in flooring, insulation, textured surfaces, or adhesives, get the right evaluation before demo continues.
Then there is simple overexertion. Cabinets, countertops, and built-ins are awkward to remove, not just heavy. A two-person lift is often safer than trying to muscle through a one-person job to save time.
Debris management is part of the safety plan
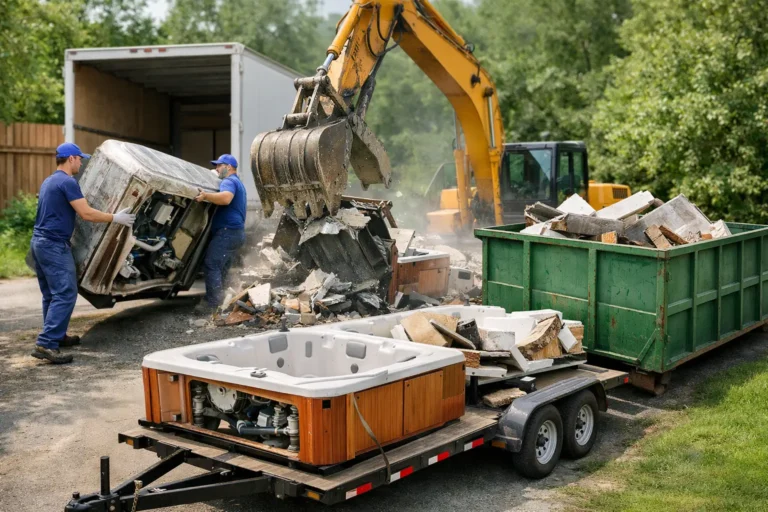
Demo debris piles up faster than most people expect. Broken cabinet boxes, tile, drywall, sinks, trim, and countertop sections can block exits and create a dangerous workspace within an hour. Keeping debris contained and removed in stages is one of the easiest ways to reduce risk.
Sort sharp, heavy, and bulky materials as you go. Do not leave nails, screws, and shattered pieces scattered across the floor. Keep one path clear at all times so you can move in and out safely with loads.
Disposal is also where many DIY projects bog down. Kitchen materials are heavy, dirty, and hard to stack efficiently in a personal vehicle. That is one reason many property owners choose a full-service crew. The labor, loading, hauling, and responsible disposal are handled in one process, which keeps the site cleaner and the project moving.
When DIY kitchen demo makes sense – and when it does not
Some kitchen demolition jobs are manageable for a prepared homeowner. Removing loose shelving, empty cabinets, light fixtures after power is off, or a laminate countertop in a small space may be reasonable if you have the tools, time, and disposal plan.
But it depends on the scope. If the project involves gas, hardwired appliances, tile demolition, wall removal, major debris volume, upper cabinet removal at height, or a tight renovation timeline, professional help is usually the smarter move. The same goes for occupied rentals, estate transitions, and turnover properties where speed and cleanliness matter.
A reliable demo and junk removal team can reduce risk by handling heavy lifting, jobsite cleanup, hauling, and disposal in a more controlled way. For customers in the Charlotte area, companies like Local Loop Junk Troop are often called in when homeowners want the kitchen cleared out fast without turning the rest of the property into a mess.
A safer kitchen demolition safety guide starts with a realistic plan
The best safety tool on any demo job is not a hammer. It is knowing exactly what you are removing, what stays in place, where the debris goes, and who is handling the risky parts. Rushing kitchen demo usually creates more cost than caution ever does.
If the project is small, slow down and work in stages. If it is larger than expected, call for help early instead of after something breaks or somebody gets hurt. A clean, orderly demolition sets up the rest of the remodel for fewer delays, less stress, and a much better result.