
A foreclosure property can look manageable from the curb and still hold years of furniture, appliances, personal belongings, trash, and hidden damage inside. This foreclosure cleanout step by step guide helps property owners, lenders, real estate professionals, and managers clear a home safely, respectfully, and on a realistic schedule.
The goal is not simply to empty the house. A proper cleanout protects against avoidable disputes, makes room for inspections and repairs, and helps the property show better when it is ready for the market. The process changes depending on whether the home is occupied, recently vacated, damaged, or filled with items from a long-term resident, but the order of operations matters in every case.
Start With Legal Access and a Property Assessment
Do not begin removing items until the party ordering the work has confirmed legal possession of the property. In a foreclosure, belongings left behind may still be subject to local rules, court requirements, lender policies, or a former occupant’s right to retrieve property. A rushed cleanout can create unnecessary liability, especially when documents, valuables, medications, firearms, or personal records are involved.
Once access is confirmed, walk through the entire property before loading a single item. Check the home, garage, attic, basement or crawlspace, shed, yard, and any storage areas. Bring a phone or camera and document each room with photos and video. This creates a clear starting record and helps you estimate labor, hauling volume, and any special handling needs.
During the walkthrough, look for safety concerns such as broken glass, weak floors, standing water, mold, pests, exposed wiring, sharp debris, or damaged stairs. If utilities are still active, verify that the property is safe before using lights, appliances, or water. A house with a small amount of furniture may be a same-day job. A packed home with biohazards, structural issues, or heavy debris may require a more controlled plan.
Sort Items Before the Foreclosure Cleanout Begins
The fastest way to make a cleanout harder is to treat every item as trash. A simple sorting plan keeps the property organized and gives the decision-maker a chance to identify items that should be retained, returned, donated, recycled, or discarded.
Set aside a clearly marked area for personal documents and potentially valuable items. Look through desks, file cabinets, closets, dresser drawers, safes, and storage bins before removing furniture. Keep items such as family photos, tax records, mail, legal documents, financial paperwork, jewelry, cash, keys, and vehicle titles separate from the hauling pile. If firearms, prescription medications, or hazardous materials are found, do not place them with general junk.
A practical sorting system includes these four categories:
- Retain: Items requested by the owner, lender, estate representative, or property manager.
- Donate: Usable furniture, clothing, household goods, and similar items that are clean and in acceptable condition.
- Recycle: Metal, electronics, cardboard, certain appliances, and other materials accepted by local recycling programs.
- Dispose: Broken furniture, contaminated goods, spoiled food, damaged mattresses, trash, and unsalvageable debris.
Donation and recycling can reduce landfill waste, but they should not slow down a time-sensitive property turnover. If an item is wet, infested, heavily stained, broken, or unsafe to use, disposal is usually the responsible choice. The best approach is to prioritize safe, realistic diversion rather than saving everything that might have had value at one time.
Remove High-Priority Items First
Start with perishable and hazardous items. Remove food from refrigerators, freezers, cabinets, and pantries, especially if the power has been disconnected. Spoiled food can create odors, leaks, insects, and mold that make the rest of the cleanup more difficult. Empty trash bags, loose garbage, pet waste, and contaminated materials should also be handled early.
Next, remove bulky items that block access. Old couches, mattresses, appliances, broken shelving, and packed boxes can make rooms unsafe to navigate. Opening clear pathways allows crews, inspectors, contractors, and cleaners to move through the property without tripping hazards or unnecessary lifting risks.
Appliances need a little extra planning. Refrigerators and freezers should be emptied and allowed to air out. Washers, dryers, water heaters, and other large units may require disconnection before removal. Electronics, televisions, monitors, paint, chemicals, batteries, propane tanks, and automotive fluids should never be mixed into a standard household junk load without confirming proper disposal procedures.
Work Room by Room, Not Pile by Pile
A room-by-room cleanout prevents items from being overlooked and makes it easier to track progress. Begin at the farthest area of the property and work toward the main exit. This reduces the chance of carrying items back through rooms that have already been cleared.
In each room, remove small loose items first, then boxed goods, then furniture and large debris. Check closets, cabinet interiors, shelves, under beds, and behind doors before calling the room complete. Garages, attics, and sheds often take longer than expected because they contain heavy tools, paint, chemicals, old building materials, and years of stored clutter.
Keep separate piles or containers where possible. Cardboard and metal can often be kept apart from general debris, while reusable household goods should be protected from damage if they are headed for donation. A professional cleanout crew can manage this sorting while loading, which saves property representatives from coordinating multiple disposal trips.
Plan for Repairs, Not Just Removal
Once the rooms are empty, the condition of the property becomes much clearer. Walls may have holes hidden behind furniture. Floors may show stains or pet damage. Cabinets, countertops, windows, doors, and fixtures may need repair or replacement before the home can be listed or turned over.
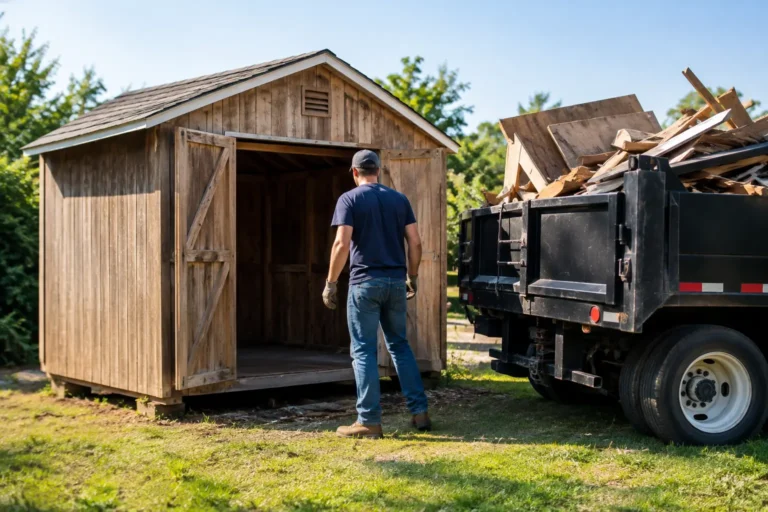
Take a second set of photos after the cleanout. These photos are useful for estimating repairs, documenting the property condition, and coordinating with cleaning crews, painters, contractors, or real estate teams. At this point, it is also easier to identify materials that may need light demolition, such as damaged cabinets, old carpet, broken shelving, a worn deck, or a deteriorated shed.
Not every foreclosure needs demolition. If a fixture or structure is safe and repairable, removing it may add cost without improving the sale. On the other hand, leaving behind damaged built-ins, soaked carpet, or a collapsing exterior structure can delay the next phase of work. The right decision depends on the property condition, budget, timeline, and the expectations of the eventual buyer.
Finish With a Final Sweep and Exterior Check
Before the job is considered complete, walk the property again. Open every closet and cabinet. Check the attic, crawlspace, garage, porch, driveway, yard, and mailbox area. Make sure no loose bags, broken furniture, construction debris, tires, or appliances remain outside.
A cleanout is not the same as a deep cleaning, but the home should be broom-swept and free of loose debris once hauling is complete. Floors should be clear enough for cleaners, repair crews, and prospective buyers to assess the space. If the property has curb appeal concerns, remove yard waste, abandoned outdoor furniture, and visible debris from around the home.
For Charlotte-area properties facing a tight turnover deadline, Local Loop Junk Troop can handle the labor, loading, hauling, and responsible disposal in one organized visit. Clear upfront pricing and a full-service approach help reduce the back-and-forth that often slows down a foreclosure project.
A foreclosure cleanout is easier when it is treated as the first step toward restoring the property, not the last chore left behind. Clear the space carefully, document the work, and leave the home ready for whatever comes next.